Install WordPress
WordPress is one of the most popular content management systems (CMS) today, used to create websites from personal blogs to e-commerce sites. In this article, we will guide you through how to install WordPress on your hosting in detail and easily.
To get started, you need a hosting that supports PHP and MySQL, along with a domain name configured to point to your hosting. If you’re ready, let’s get started with the WordPress installation process.

Step 1: Download WordPress
First, you need to download the latest version of WordPress from the official website. WordPress.org. After downloading, you will get a compressed file (.zip) containing the entire WordPress source code.
Step 2: Upload WordPress files to Hosting
Use an FTP application (like FileZilla) to connect to your hosting. Log in to your FTP account and upload the entire contents of the unzipped WordPress file to your hosting root directory (usually public_html or www).
If you want to install WordPress in a subdirectory, you can create a new directory on your hosting (eg: public_html/blog) and upload content into it.
Step 3: Create MySQL Database
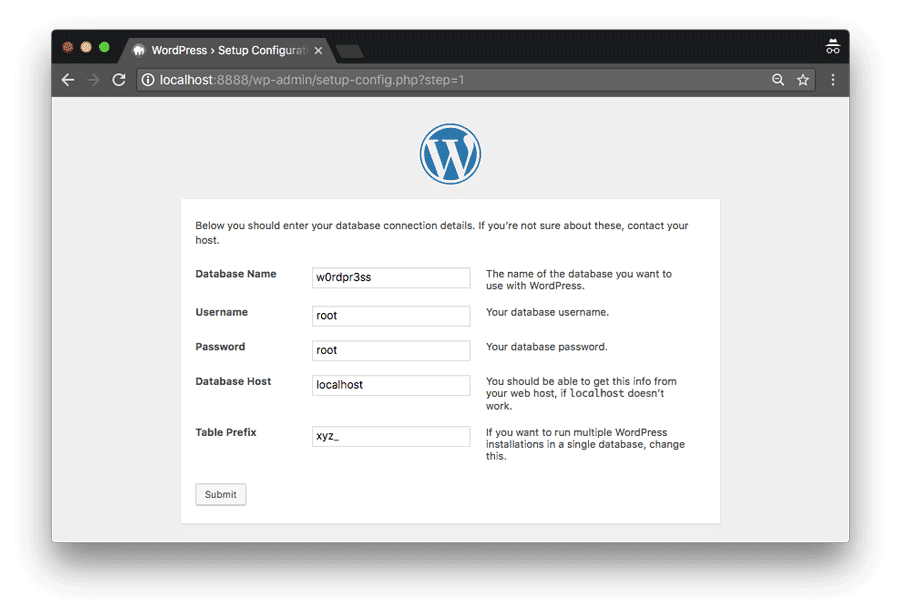
For WordPress to work, you need a MySQL database. Log in to your hosting control panel (cPanel) and go to the “MySQL Databases” section. Create a new database, along with a MySQL user that has full access to that database.
Remember the following information: database name, username, and password. You will need them in the next installation step.
Step 4: Configure wp-config.php File
Before starting the installation, you need to configure the file wp-config.php to connect WordPress to your database. Go to the WordPress folder on your hosting, find the file wp-config-sample.php and renamed to wp-config.php.
Open file wp-config.php and find the following lines:
define('DB_NAME', 'database_name_here');
define('DB_USER', 'username_here');
define('DB_PASSWORD', 'password_here');
define('DB_HOST', 'localhost');
Replace database_name_here, username_hereand password_here using the database information you created in the previous step.
Step 5: Complete WordPress Installation
Now, open a web browser and go to your domain name (or the subdirectory where you uploaded WordPress). If everything is set up correctly, you should see the WordPress welcome screen. Select your installation language and click “Continue”.
WordPress will then ask you to enter the necessary information, including your site name, username, password, and admin email address. Fill in all of this information and click “Install WordPress.”
Once the installation is complete, you will see a success message and can log in to your WordPress admin to start building your website.
Get Ready to Explore WordPress
Installing WordPress on your hosting is a fairly simple process if you follow the detailed instructions above. Once installed, you can easily customize your theme, install plugins, and start adding content to your website.
Hopefully this guide has helped you understand how to install WordPress and get started on your journey to building your own website. Good luck!

