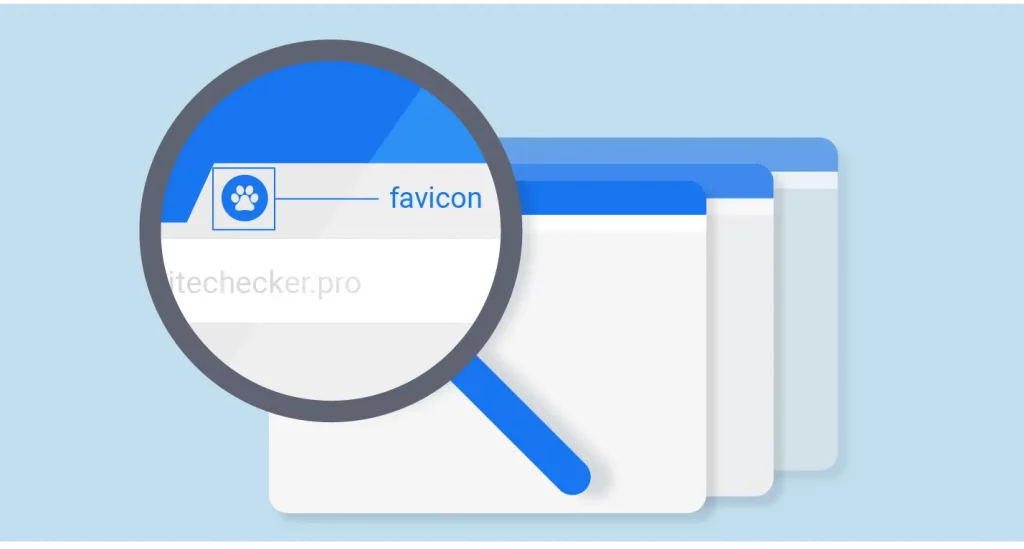
Logos and favicons are two important elements in building a brand identity for your website. Logos help users recognize your brand instantly, while favicons are small icons that appear in browser tabs and help your website stand out. In this article, we will show you how to easily create a logo and favicon for your WordPress site.
Step 1: Create a Logo for Your WordPress Site
A logo is the symbol or brand name that you want to display on your website. You can design a logo yourself using graphic tools or use an online design service.
Using Logo Design Tools
If you are not a professional designer, there are many online tools that can help you create a logo easily. Some popular tools include:
- Canva: Canva is an easy-to-use online graphic design tool with a variety of logo templates. You can customize the colors, fonts, and icons to match your brand.
- LogoMaker: LogoMaker offers simple and professional logo templates. Just enter your brand name and choose your favorite style.
- Looka: Looka uses AI to help you create a logo quickly in just a few simple steps.
Once you’ve created your logo, save the file as a PNG or SVG to ensure the best image quality.

Upload Logo On WordPress
Once you have your logo, you can upload it to your WordPress site by following these steps:
- Go to your WordPress dashboard and navigate to Interface -> Customization (Appearance -> Customize).
- Select item Page Identity (Site Identity).
- In the section Logoclick Select Logo and upload the logo you just created.
- Click Publish to save changes.
Once uploaded, your logo will appear on the homepage and all other pages of your website.
Step 2: Create Favicon For WordPress Site
A favicon (short for “favorite icon”) is a small icon that appears in the browser tab when a user visits your website. Favicons help your website stand out and be more recognizable when multiple tabs are open.
Using Favicon Generator
To create a favicon, you can use an existing logo or design your own small icon. Some free favicon generators include:
- Favicon.io: This tool allows you to create favicons from existing text, icons or images.
- RealFaviconGenerator: This is a powerful tool that helps you create favicons compatible with all browsers and devices.
- X-Icon Editor: This tool allows you to edit and create favicons online with many customization options.
When creating a favicon, keep in mind that the standard size for a favicon is 16×16 pixels or 32×32 pixels and should be saved in ICO or PNG format.
Upload Favicon On WordPress
Once you have created your favicon, you can upload it to your WordPress site as follows:
- Go to your WordPress dashboard and navigate to Interface -> Customization (Appearance -> Customize).
- Select item Page Identity (Site Identity).
- In the section Website Icon (Site Icon), click Select Icon and upload the favicon file you created.
- Click Publish to save changes.
Your favicon will appear on the browser tab when users visit your website.
Tips for Creating Effective Logos and Favicons
To get the most out of your logo and favicon, keep these tips in mind:
- Keep the design simple: A simple logo and favicon will be more memorable and display clearly on all devices.
- Choose the right color: Use colors that truly reflect your brand identity and make sure your logo and favicon are still legible when scaled down.
- Optimize file size: Make sure your logo and favicon have small file sizes so they don’t slow down your website.
logo design
Creating a logo and favicon for your WordPress site not only makes your site look more professional, but it also helps build a strong brand. Using the tools and instructions in this article, you can easily create a unique logo and favicon for your site. Start branding today!
